2.2 audio dsp
contents
overview
Done right, this procedure will make any sound system better, and it will make a good sound system truly sublime.
Configuring speakers is not something I do all that regularly. Once I get the things set up properly, it’s small tweaks, never massive changes. That said, every now and then, you need to start from scratch or something, and you’ve almost certainly forgotten how to do all this crap by the time you look at it again.
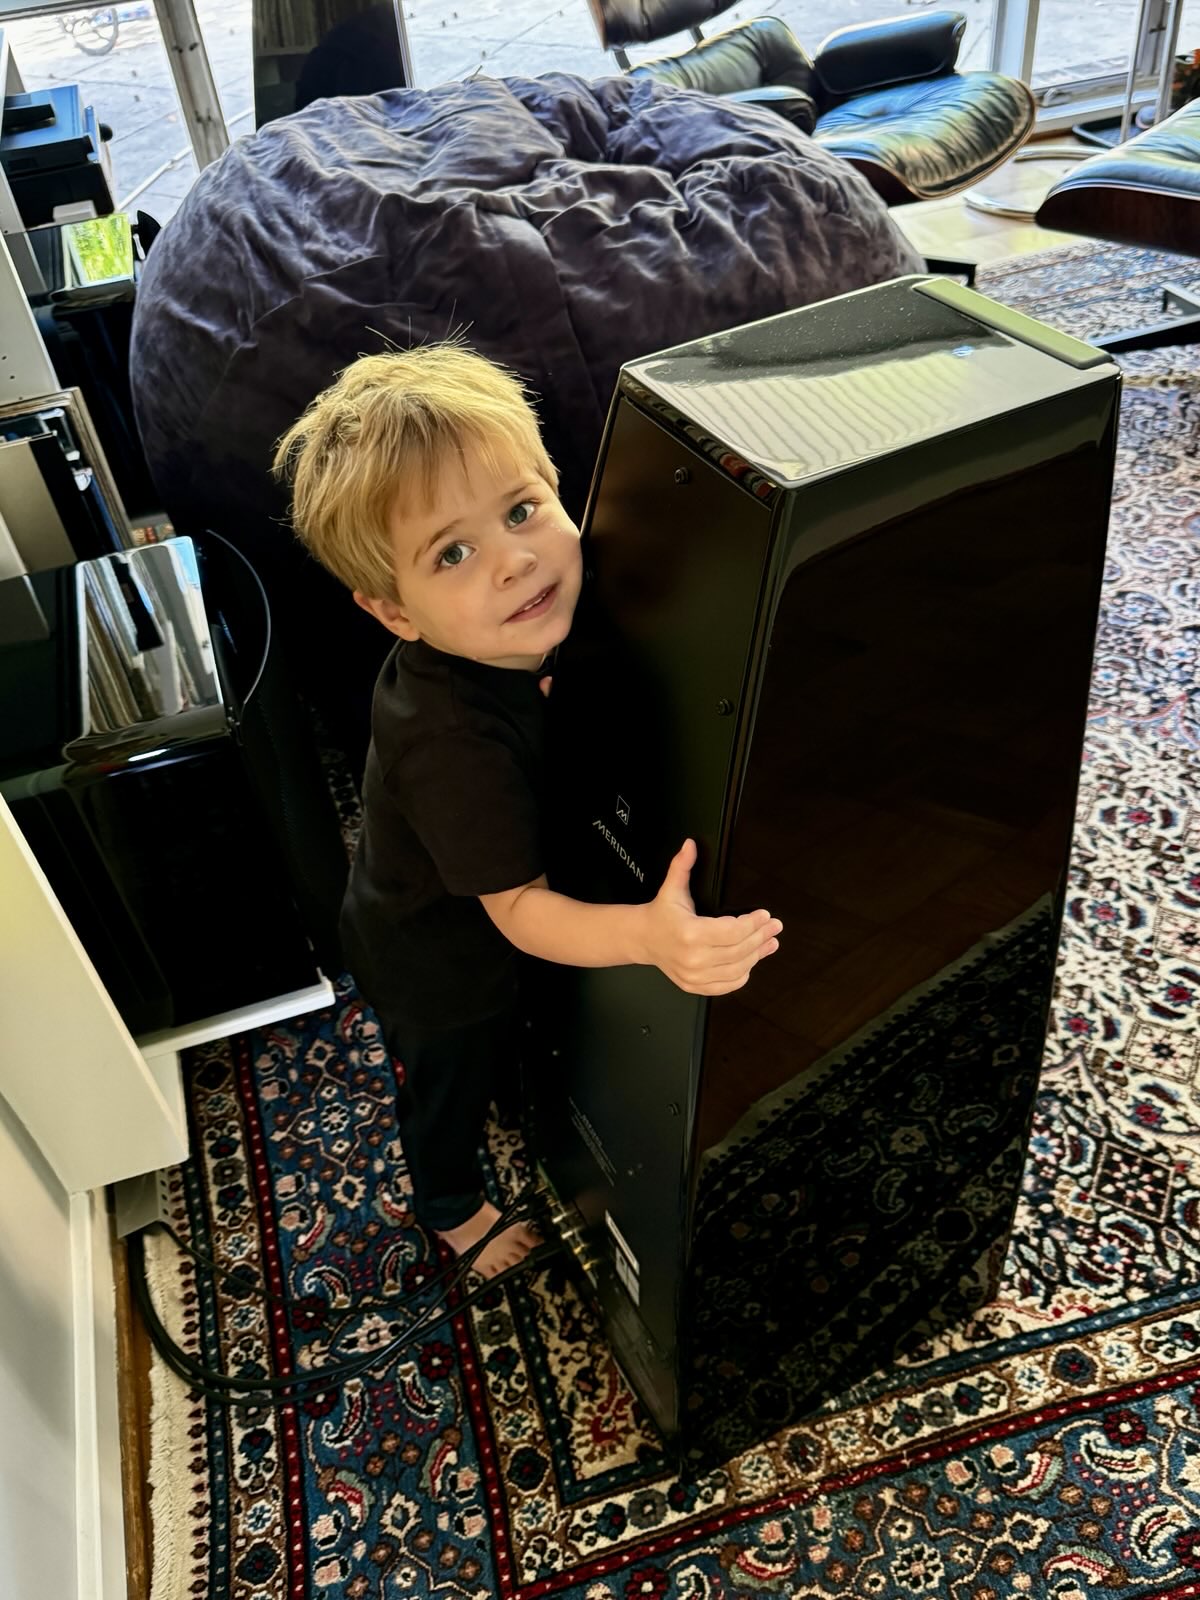
In this case, I got a new piece of furniture in my living room, and it changed the profile of the room correction significantly.
I always keep the latest settings and configuration files for the below steps here on GitHub. It’s nothing secret, but neither would it work for anyone else, since everyone has a different system and room. Feel free to see what the files you’re generating as you go through this process should look like, however.
specifications
This procedure can work with anything, basically, but here’s what I’m working with, for context. Adapt the notes here according to your own system.
- Speakers: (2) Meridian DSP5200SL
- Speaker Controller: Meridian G61RSL
- Subwoofers: (2) SVS SB3000
- DSP Preamp: miniDSP SHD
- Measurement Mic: UMIK-1 from miniDSP (with calibration file)
This is a 2.2 stereo system, with two main speakers and two subwoofers.
My speakers are connected via RJ-45 (Speakerlink) to the speaker controller. The primary reason I even have this device in-line at all is configurability. There are some settings on Meridian speakers which are only configurable if you have a Meridian controller and set it up via serial interface.
The speaker controller is connected to digital channels 1 & 2 on the miniDSP, and passes these channels directly through to the speakers. The subwoofers are connected to analog channels 3 & 4 on the miniDSP.
Essentially,
- Left Speaker –> miniDSP Channel 1 (digital s/pdif)
- Right Speaker –> miniDSP Channel 2 (digital s/pdif)
- Left Subwoofer –> miniDSP Channel 3 (analog RCA)
- Right Subwoofer –> miniDSP Channel 4 (analog RCA)
goals
It’s easy to miss the forest for the trees doing this. The goals here are as follows, in order -
- We’ll set levels and time-alignment on the gear.
- We’ll measure bass response in our room.
- We’ll integrate the subwoofers with the speakers at an appropriate crossover point.
- We’ll develop a two-channel DIRAC filter on the integrated system to do a final room correction and equalization.
bass measurements
First, follow these instructions to determine the correction requires for your subwooder channels.
crossover point
The crossover point is a decision based on many factors. Too high, and you’ll start hearing the subwoofers - sound becomes more directional above typical subwoofer frequency, and less directional under, say, 100Hz.
Too low a crossover, and you’ll unnecessarily strain your main speakers, often causing distortion.
I chose 100Hz, but only after running lots of sweeps in REW at different settings to determine which caused the least disturbance to the response curve around the crossover point. In my case, my subwoofers are in front, spaced almost as far apart as the speakers themselves, so any minor increase in directionality wouldn’t be very noticeable.
If you have your subwoofers in more unusual locations, such as the sides or back of the room, you wouldn’t want set the crossover this high unless really forced to by distortion or response curve.
DIRAC filter development
Now that the crossover and individual PEQ is set, you’re ready to integrate the whole system with your room. This is done in DIRAC on the MiniDSP, though you could also do this in REW. I find the results I get with DIRAC to be much higher quality with little effort, as compared to developing my own room corrections in REW.
figures
You’ll know you got it right when the speakers regularly get hugged.
![]()